open-source web annotation tool
Improve speed by using semi-automated annotations
scalabel은 이미지에 주석을 달 수 있는 프로그램이다.
Scalabel Website
A scalable open-source web annotation tooln
www.scalabel.ai
scalabel/scalabel: Scalabel: A versatile web-based visual data annotation tool (github.com)
GitHub - scalabel/scalabel: Scalabel: A versatile web-based visual data annotation tool
Scalabel: A versatile web-based visual data annotation tool - GitHub - scalabel/scalabel: Scalabel: A versatile web-based visual data annotation tool
github.com
먼저 scalabel을 설치해준다.
깃허브와 웹 사이트를 참고해서 설치할 수 있다.
git bash를 열어 다음 코드를 실행한다.
git clone https://github.com/scalabel/scalabel
cd scalabel
나는 npm run serve에서 에러가 났지만 우선 그냥 넘어갔다.
chmod +x scripts/setup_ubuntu.sh scripts/setup_osx.sh scripts/setup_local_dir.sh
# Or run scripts/setup_osx.sh for MacOS
. scripts/setup_ubuntu.sh
. scripts/setup_local_dir.sh
npm run serve
그리고 docker를 설치해야한다.
Docker: Accelerated, Containerized Application Development
Docker: Accelerated, Containerized Application Development
Docker is a platform designed to help developers build, share, and run modern applications. We handle the tedious setup, so you can focus on the code.
www.docker.com
docker를 설치하기 앞서 WSL2와 Ubuntu를 설치해준다.
Powershell을 관리자 권한으로 열어준다.
DISM(배포 이미지 서비스 및 관리) 명령어로 Microsoft-Windows-Subsystem-Linux 기능을 활성화한다.
dism.exe /online /enable-feature /featurename:Microsoft-Windows-Subsystem-Linux /all /norestartdism.exe /online /enable-feature /featurename:VirtualMachinePlatform /all /norestart
WSL 설치
wsl --install
마이크로소프트 스토어에서 Ubuntu 설치
PowerShell을 관리자 권한으로 열고, 다음을 실행한다.
docker pull scalabel/www아래 docker 실행 코드는 scalabel에서 제공하는 공식 코드이나, 본인은 해당 코드가 실행되지 않았다.
docker run -it -v "`pwd`/local-data:/opt/scalabel/local-data" -p \
    8686:8686 -p 6379:6379 scalabel/www \
    node app/dist/main.js \
    --config /opt/scalabel/local-data/scalabel/config.yml \
    --max-old-space-size=8192
아래 코드로 실행하니 실행이 되었다.
docker run -it -v "${pwd}/local-data:/opt/scalabel/local-data" -p 8686:8686 -p 6379:6379 scalabel/www node app/dist/main.js --config /opt/scalabel/local-data/scalabel/config.yml --max-old-space-size=8192
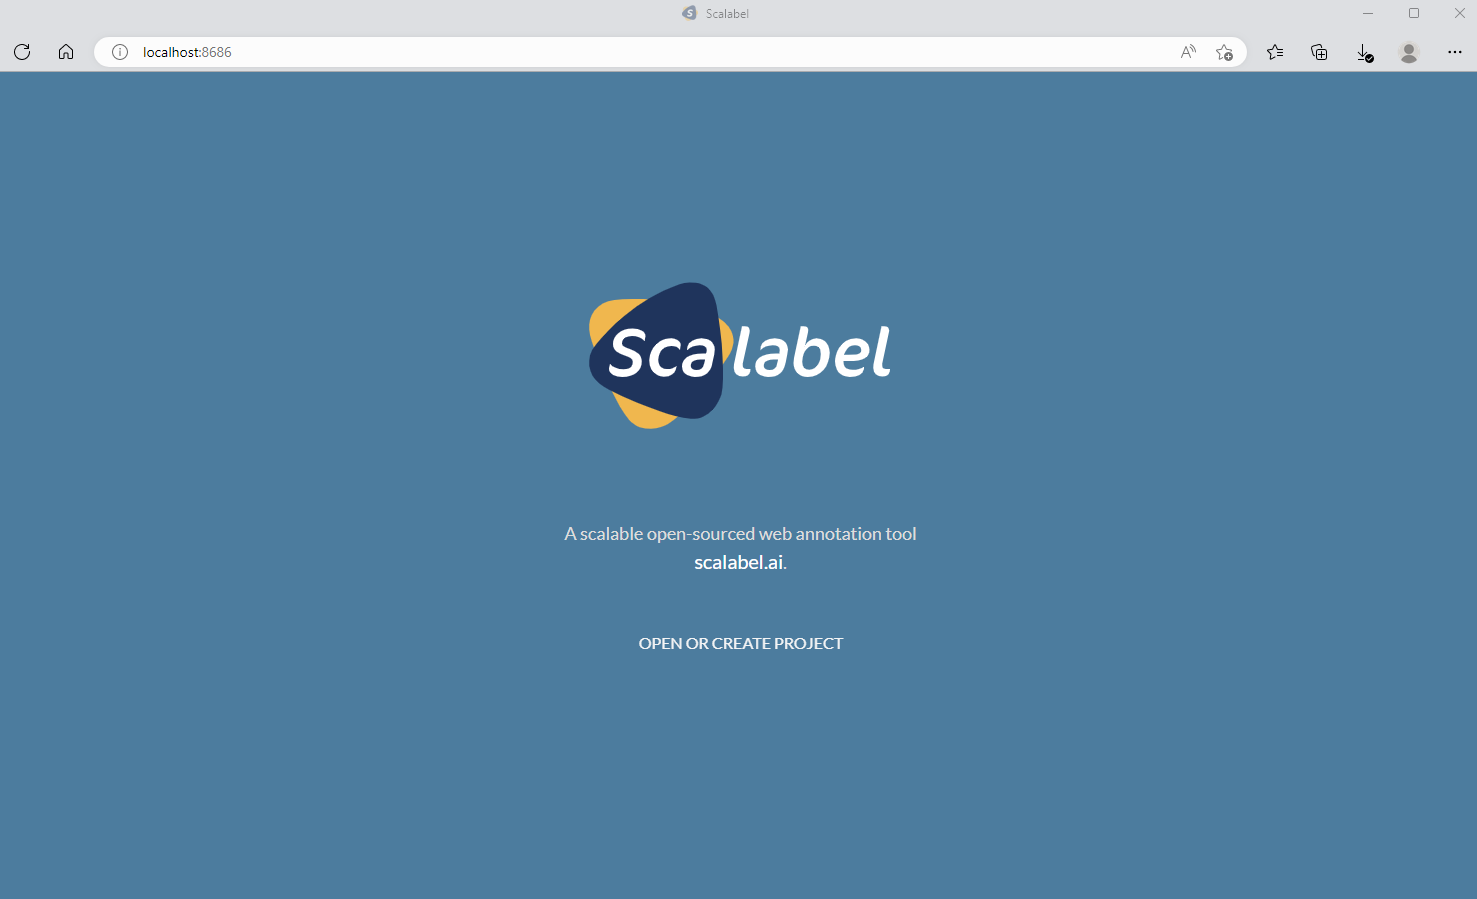
그리고 나서 http://localhost:8686 으로 접속하면 프로그램이 실행되는 것을 확인할 수 있다.
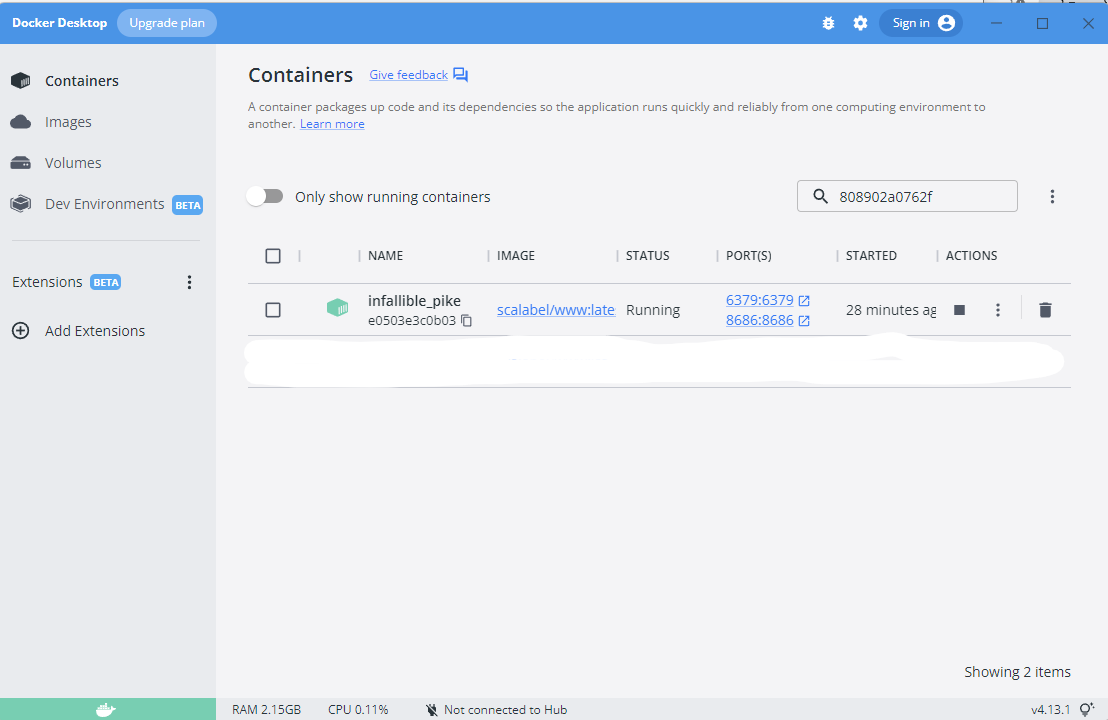
한 번 코드를 실행한 후에는 docker application을 통해 간단히 실행할 수 있다.
Item Type에서 Video Tracking을 선택하고, Label Type은 Bounding Box를 선택한다.
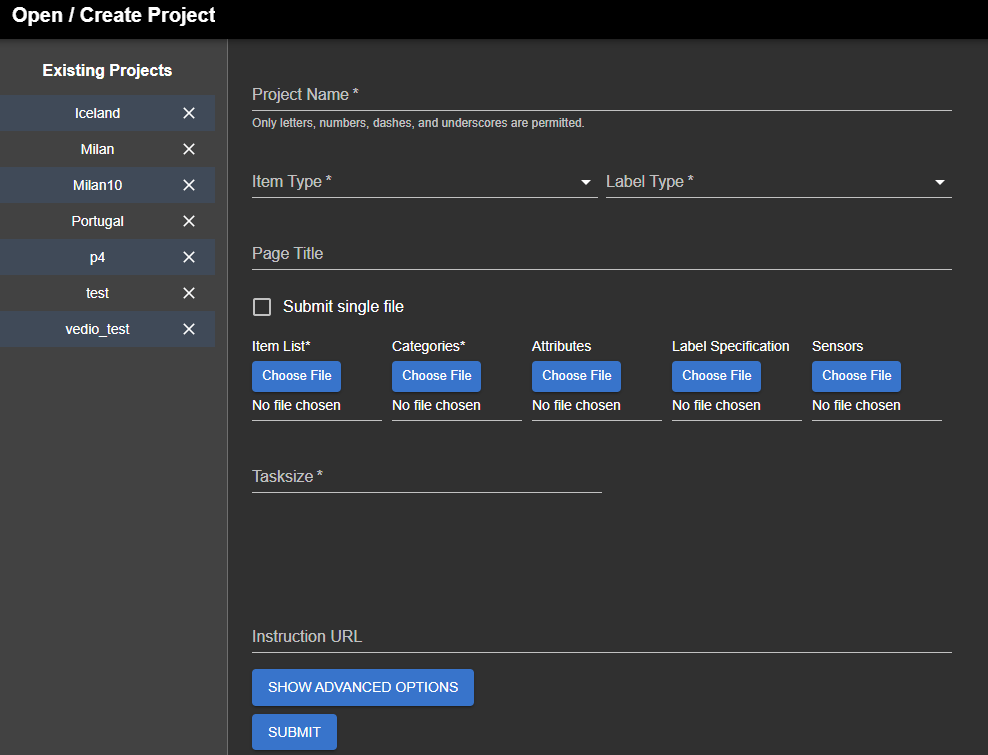
Item List에는 json 혹은 yml 파일을 선택할 수 있는데, Scalabel에서 제공하는 예시대로 yml 형식으로 업로드했다.
우선 mp4 영상을 yml 형식으로 바꿔야 한다.
python의 cv2를 이용해 프레임을 추출해줬다.
import cv2

def video2frame(invideofilename, save_path):
    vidcap = cv2.VideoCapture(invideofilename)
    count = 0
    while True:
      success,image = vidcap.read()
      if not success:
          break
      # % 10 숫자를 조정해 추출 프레임 수를 조정
      if int(vidcap.get(1)) % 10 == 0:
        print(count)
        fname = "{}.jpg".format("{0:04d}".format(count))
        cv2.imwrite(save_path + fname, image) # save frame as JPEG file
        count += 1
    print("{} images are extracted in {}.". format(count, save_path))
생성된 이미지 파일은 scalabel 폴더 아래 local-data/items 안에 넣어준다.
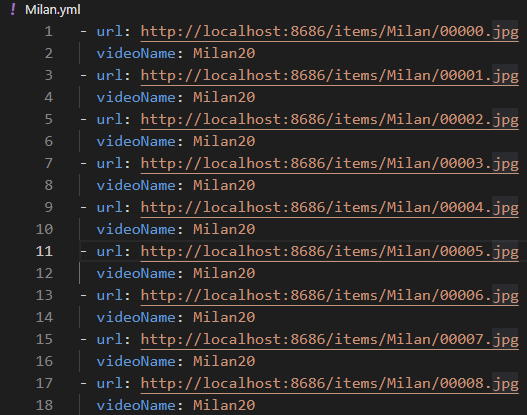
yml 파일은 다음과 같은 형태로 만들어준다.
생성된 yml 파일은 scalabel/examples에 넣어준다.
이제 Item List에 생성한 yml 파일을 넣어주고, Categories에 기본으로 포함되어있는 categories.yml을 넣어준다.
Submit 클릭 후, Go to Dashboard를 눌러주면 끝!
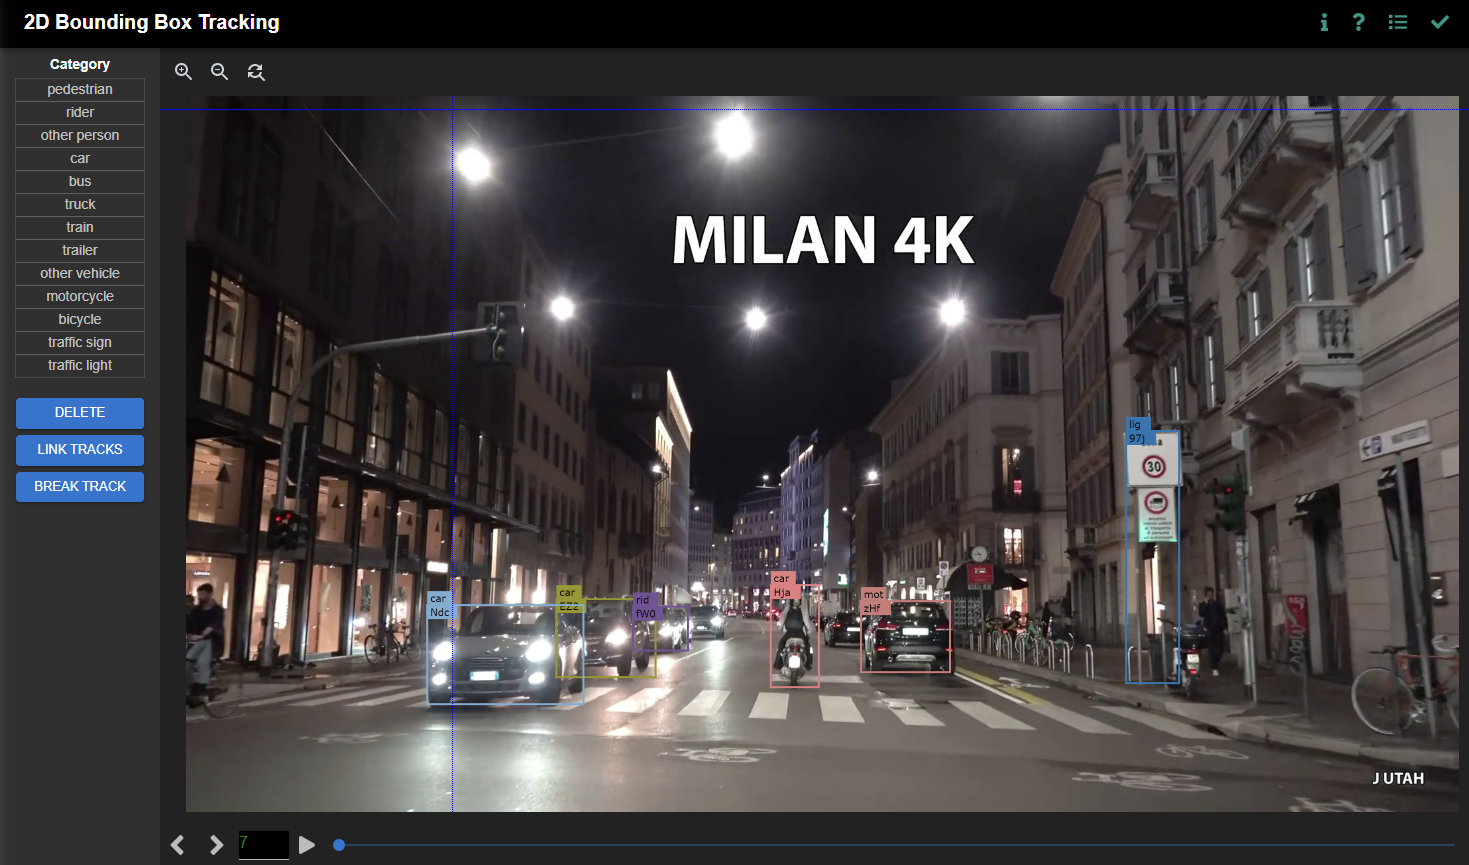
우리가 입력한 카테고리대로 박스 바운딩을 할 수 있다!

